
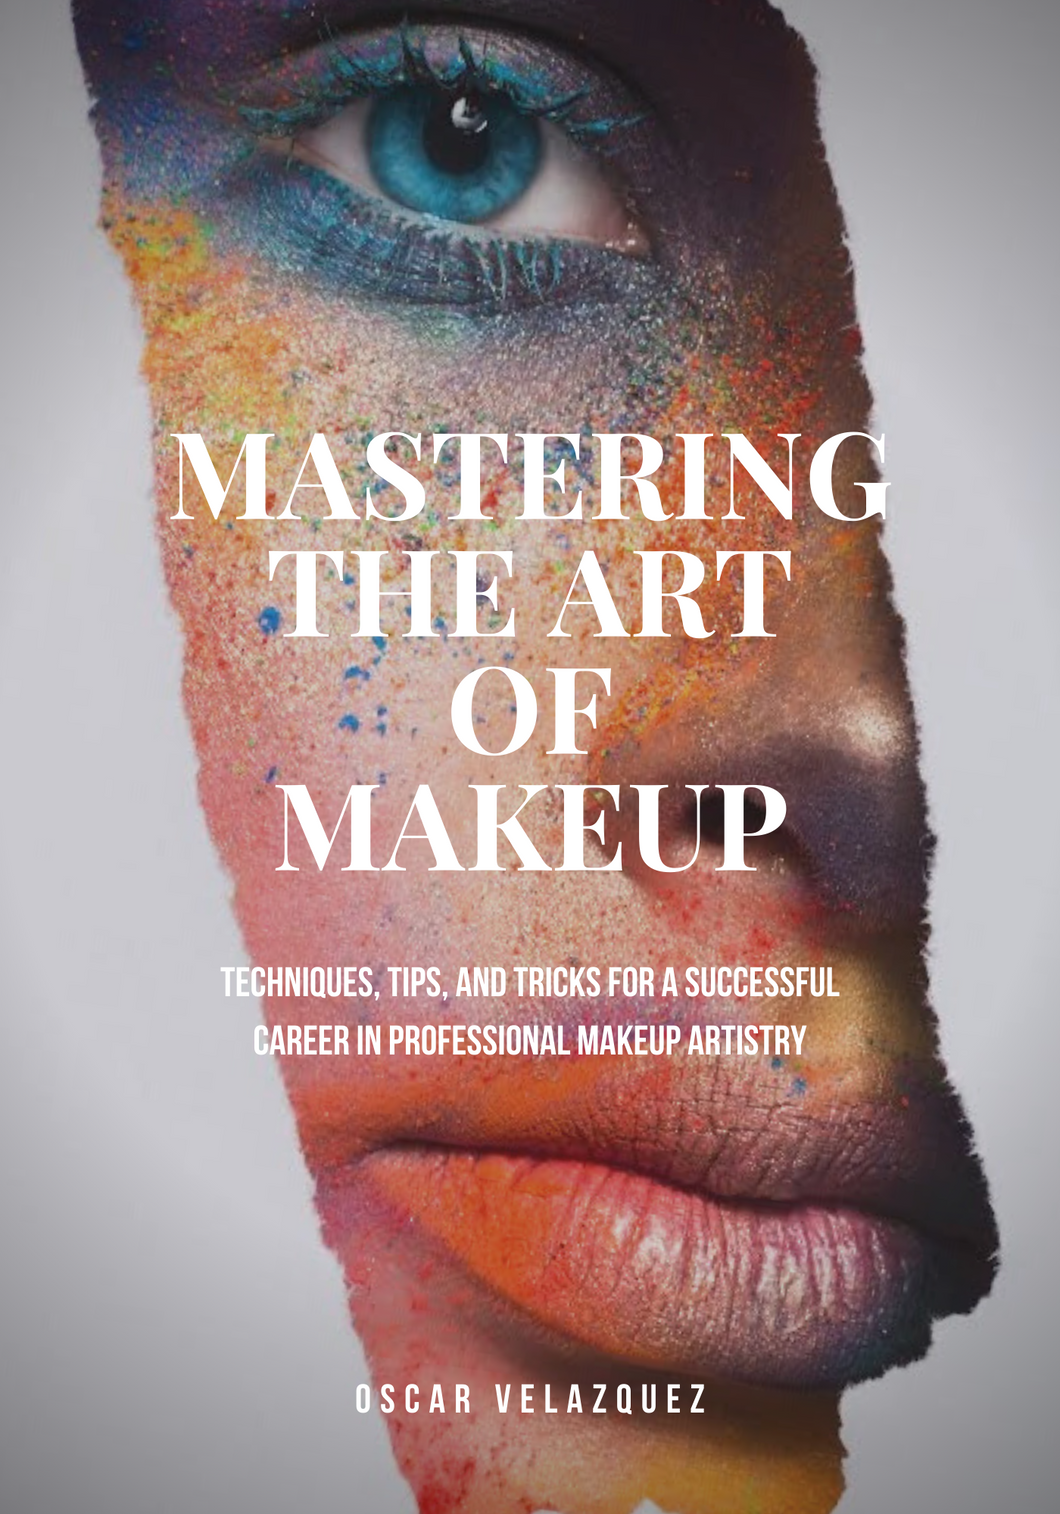
The Art of Makeup Application: A Comprehensive Guide
Related Articles: The Art of Makeup Application: A Comprehensive Guide
Introduction
With great pleasure, we will explore the intriguing topic related to The Art of Makeup Application: A Comprehensive Guide. Let’s weave interesting information and offer fresh perspectives to the readers.
Table of Content
The Art of Makeup Application: A Comprehensive Guide

Makeup application is a multifaceted art form that can enhance natural beauty, express individuality, and boost confidence. Mastering the techniques and understanding the nuances of product application can transform the way one looks and feels. This comprehensive guide delves into the step-by-step process of applying makeup, providing insights into each stage, essential tools, and valuable tips for achieving flawless results.
Step 1: Skin Preparation – The Foundation for a Flawless Canvas
Before embarking on the makeup application journey, it is crucial to prepare the skin. This step sets the stage for a smooth, even application and ensures makeup longevity.
- Cleansing: Begin by cleansing the face with a gentle cleanser suited for one’s skin type. This removes impurities, excess oil, and makeup residue, creating a clean base.
- Exfoliation: Exfoliating once or twice a week removes dead skin cells, revealing brighter, smoother skin. Choose a physical or chemical exfoliant based on individual preference and skin sensitivity.
- Toning: Applying a toner after cleansing helps to balance the skin’s pH level, tighten pores, and prepare it for the next steps.
- Moisturizing: Moisturizing is essential for hydration and a healthy glow. Select a moisturizer suitable for one’s skin type, allowing it to absorb fully before proceeding.
- Primer: Applying a primer after moisturizer creates a smooth, even surface for makeup application. Primers help to minimize the appearance of pores, fine lines, and wrinkles, and they also improve the longevity of foundation.
Step 2: Foundation – The Base for a Unified Complexion
Foundation is the cornerstone of makeup, providing an even complexion and a base for further enhancement.
- Choosing the Right Shade: Selecting the correct foundation shade is paramount. Test foundation on the jawline in natural light to find the perfect match. It should blend seamlessly into the skin, disappearing without leaving a noticeable line.
-
Application Techniques: Foundation can be applied with various tools, including brushes, sponges, and fingers. Each method offers distinct results.
- Brushes: Foundation brushes provide a more controlled and precise application, especially for achieving a flawless, airbrushed finish.
- Sponges: Sponges offer a more natural, blended look, and they are excellent for buffing in foundation and creating a dewy effect.
- Fingers: Fingers allow for a warm application, blending the foundation seamlessly into the skin.
-
Coverage Levels: Foundation comes in various coverage levels, from sheer to full. Choose the level that best suits individual preferences and skin concerns.
- Sheer: Offers minimal coverage, allowing the natural skin tone to shine through.
- Light: Provides light coverage, evening out skin tone while maintaining a natural look.
- Medium: Offers medium coverage, concealing imperfections while still looking natural.
- Full: Provides full coverage, concealing blemishes and imperfections effectively.
Step 3: Concealer – Targeting Imperfections
Concealer is a targeted solution for concealing blemishes, dark circles, and other imperfections.
-
Color Correction: Concealer comes in various shades to address specific concerns.
- Green: Neutralizes redness.
- Yellow: Brightens and illuminates.
- Peach: Corrects dark circles and discoloration.
- Purple: Counters sallowness and dullness.
- Application Techniques: Apply concealer with a small brush or sponge, using a dabbing motion to gently blend it into the skin.
- Setting: Set concealer with powder to prevent creasing and ensure longevity.
Step 4: Powder – Setting and Mattifying
Powder is a key component in setting makeup and achieving a long-lasting, matte finish.
-
Types of Powder:
- Loose powder: Lightweight and airy, providing a natural, diffused finish.
- Pressed powder: Compact and convenient, offering a more buildable coverage.
- Translucent powder: Colorless and ideal for setting makeup without altering the foundation shade.
- Application Techniques: Use a large, fluffy brush to apply powder, sweeping it gently over the face to set foundation and concealer.
Step 5: Eyeshadow – Adding Depth and Dimension
Eyeshadow is the key to enhancing the eyes, adding depth, dimension, and color.
- Choosing Colors: Eyeshadow palettes offer a wide range of colors, from neutral tones to vibrant hues. Consider eye color, skin tone, and personal style when selecting shades.
-
Application Techniques:
- Base Shadow: Apply a light, neutral shade all over the eyelid as a base.
- Transition Shade: Blend a slightly darker shade into the crease to create depth and definition.
- Lid Color: Apply a bolder color to the center of the eyelid for a pop of color or a shimmery effect.
- Highlight: Use a light, shimmery shade on the brow bone and inner corner of the eye to brighten and lift.
- Blending: Blending is crucial for a seamless, natural look. Use a fluffy brush to gently blend the eyeshadow shades together, eliminating harsh lines.
Step 6: Eyeliner – Defining the Eyes
Eyeliner defines and accentuates the eyes, creating a dramatic or subtle effect.
-
Types of Eyeliner:
- Pencil: Easy to apply and blend, suitable for creating soft lines.
- Liquid: Creates precise, dramatic lines, ideal for winged eyeliner.
- Gel: Offers a long-lasting, intense color payoff.
-
Application Techniques:
- Winged Eyeliner: Start with a thin line at the lash line and gradually extend it outwards, creating a wing.
- Cat Eye: Similar to winged eyeliner, but with a more dramatic, curved shape.
- Smoky Eye: Apply eyeliner along the lash line and smudge it outwards, creating a smoky effect.
Step 7: Mascara – Enhancing the Lashes
Mascara lengthens, thickens, and adds volume to lashes, opening up the eyes and creating a more dramatic look.
-
Choosing the Right Mascara: Consider lash type and desired effect when selecting mascara.
- Lengthening: Focuses on lengthening lashes.
- Volumizing: Adds thickness and fullness to lashes.
- Defining: Separates and defines lashes.
- Application Techniques: Apply mascara in a zig-zag motion from the root to the tip of the lashes. Avoid pumping the wand as it can introduce air and dry out the mascara.
Step 8: Blush – Adding a Flush of Color
Blush adds a natural flush of color to the cheeks, enhancing the complexion and giving a youthful appearance.
-
Choosing the Right Shade: Select a blush shade that complements one’s skin tone.
- Peach: Suitable for fair to light skin tones.
- Coral: Flattering on medium skin tones.
- Pink: Ideal for darker skin tones.
- Application Techniques: Use a fluffy brush to apply blush to the apples of the cheeks, blending upwards towards the temples.
Step 9: Bronzer – Creating Definition and Warmth
Bronzer adds warmth and definition to the face, creating a sculpted and sun-kissed look.
- Choosing the Right Shade: Select a bronzer shade that is one or two shades darker than one’s natural skin tone.
- Application Techniques: Apply bronzer with a large, fluffy brush to the hollows of the cheeks, along the jawline, and the forehead.
Step 10: Highlighter – Emphasizing Features
Highlighter illuminates and emphasizes certain facial features, adding radiance and a touch of glamour.
-
Choosing the Right Shade: Select a highlighter shade that complements one’s skin tone and desired effect.
- Champagne: Suitable for all skin tones.
- Gold: Ideal for warm skin tones.
- Pink: Flattering on cool skin tones.
- Application Techniques: Apply highlighter with a fan brush or your finger to the high points of the face, such as the cheekbones, brow bone, and cupid’s bow.
Step 11: Lipstick – Completing the Look
Lipstick is the finishing touch, adding color and definition to the lips.
- Choosing the Right Shade: Consider skin tone, personal style, and the overall look when selecting a lipstick shade.
- Application Techniques: Use a lip brush or apply lipstick directly from the bullet.
- Lip Liner: Optional, but lip liner helps to define the lips and prevent lipstick from bleeding.
Step 12: Setting Spray – Sealing the Look
Setting spray helps to seal makeup, ensuring it lasts longer and prevents fading or smudging.
- Application Techniques: Mist setting spray evenly over the face, holding the bottle about 8 inches away.
Tips for Flawless Makeup Application:
- Clean Brushes Regularly: Clean makeup brushes weekly to prevent bacteria buildup and maintain hygiene.
- Use Natural Light: Apply makeup in natural light to ensure accurate color matching and blending.
- Practice Makes Perfect: The key to flawless makeup application is practice. Experiment with different techniques and products to find what works best.
- Less is More: Start with a light application and build up coverage as needed.
- Blend, Blend, Blend: Blending is crucial for a seamless, natural look.
- Remove Makeup Before Bed: Always remove makeup before bed to prevent clogged pores and breakouts.
FAQs about Makeup Application:
Q: What is the best way to apply foundation?
A: The best way to apply foundation depends on individual preference and desired finish. Brushes provide a more controlled and precise application, while sponges offer a more natural, blended look. Fingers allow for a warm application, blending the foundation seamlessly into the skin.
Q: How do I choose the right concealer shade?
A: Choose a concealer shade that matches your skin tone or is one shade lighter to brighten and conceal blemishes.
Q: What is the difference between loose and pressed powder?
A: Loose powder is lightweight and airy, providing a natural, diffused finish. Pressed powder is compact and convenient, offering a more buildable coverage.
Q: How do I achieve a smoky eye?
A: Apply eyeliner along the lash line and smudge it outwards, creating a smoky effect. Use a dark eyeshadow shade in the crease and blend it upwards to create a soft, hazy look.
Q: How do I apply blush correctly?
A: Use a fluffy brush to apply blush to the apples of the cheeks, blending upwards towards the temples.
Conclusion:
Mastering the art of makeup application is a journey of exploration and experimentation. By understanding the steps, tools, and techniques involved, one can enhance natural beauty, express individuality, and boost confidence. Remember that practice makes perfect, and the key to flawless makeup is to find techniques and products that complement one’s unique features and personal style.


Closure
Thus, we hope this article has provided valuable insights into The Art of Makeup Application: A Comprehensive Guide. We appreciate your attention to our article. See you in our next article!