
Mastering the Art of Highlighting: A Comprehensive Guide to Illuminating Beauty
Related Articles: Mastering the Art of Highlighting: A Comprehensive Guide to Illuminating Beauty
Introduction
In this auspicious occasion, we are delighted to delve into the intriguing topic related to Mastering the Art of Highlighting: A Comprehensive Guide to Illuminating Beauty. Let’s weave interesting information and offer fresh perspectives to the readers.
Table of Content
Mastering the Art of Highlighting: A Comprehensive Guide to Illuminating Beauty

Highlighter, a staple in makeup artistry, has the power to sculpt, define, and illuminate the face. It’s a versatile tool that can be used to create a natural, dewy glow or a dramatic, sculpted look. While its application might seem straightforward, mastering the art of highlighting involves understanding its nuances and utilizing it effectively.
Understanding the Basics of Highlighter
Highlighter, in its essence, is a makeup product designed to reflect light, creating the illusion of a brighter, more radiant complexion. It comes in various forms, including:
- Cream Highlighter: Often housed in a compact or a stick format, cream highlighter provides a dewy, natural-looking finish. It blends easily and offers buildable coverage.
- Liquid Highlighter: Applied with a brush or fingers, liquid highlighter delivers a luminous, wet-look finish. It’s known for its versatility and ability to blend seamlessly into the skin.
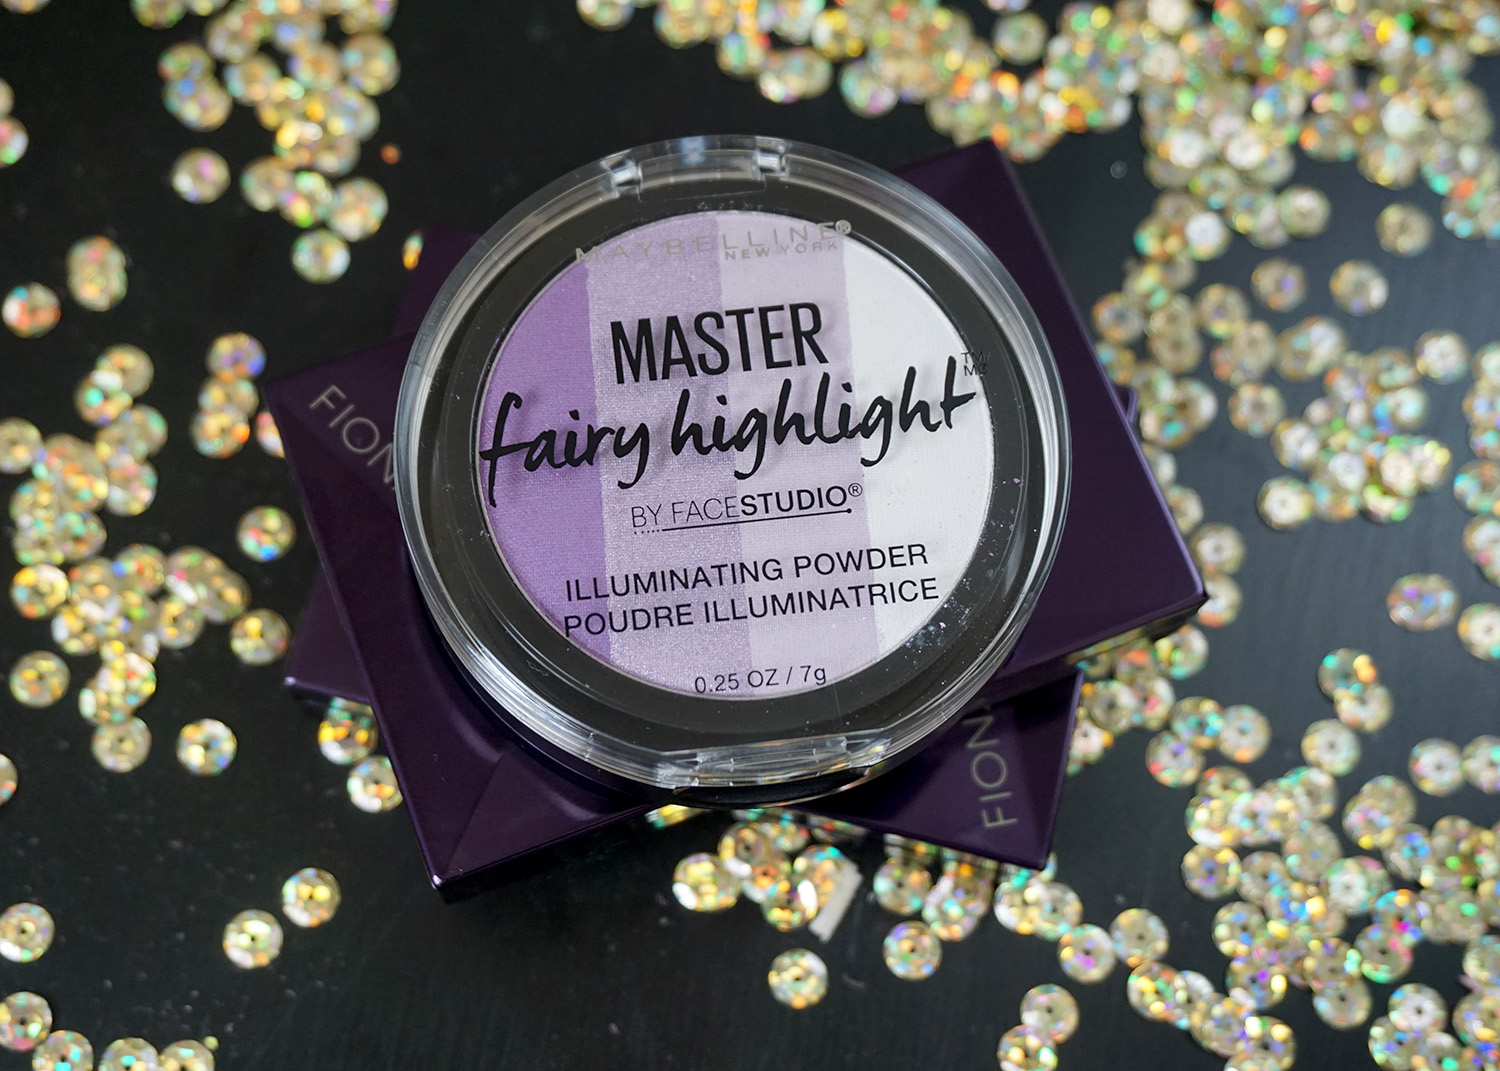
- Powder Highlighter: Available in loose or pressed forms, powder highlighter provides a soft, diffused glow. It’s ideal for setting makeup and achieving a subtle, natural highlight.
- Stick Highlighter: Compact and portable, stick highlighters offer precise application and a convenient way to touch up throughout the day.
Choosing the Right Highlighter for Your Skin Tone
The key to achieving a natural-looking highlight lies in selecting a shade that complements your skin tone.
- Fair Skin Tones: Opt for champagne, pearl, or light gold highlighters. These shades will enhance your natural radiance without appearing too stark.
- Medium Skin Tones: Choose warm gold, rose gold, or peachy shades. These tones will add a healthy, sun-kissed glow.
- Dark Skin Tones: Embrace rich gold, bronze, or copper highlighters. These shades will beautifully complement your skin tone and create a warm, radiant finish.
Strategic Placement for Sculpting and Defining
Highlighter’s power lies in its ability to sculpt and define facial features. Applying it strategically can accentuate your best features and create a more balanced, harmonious look.
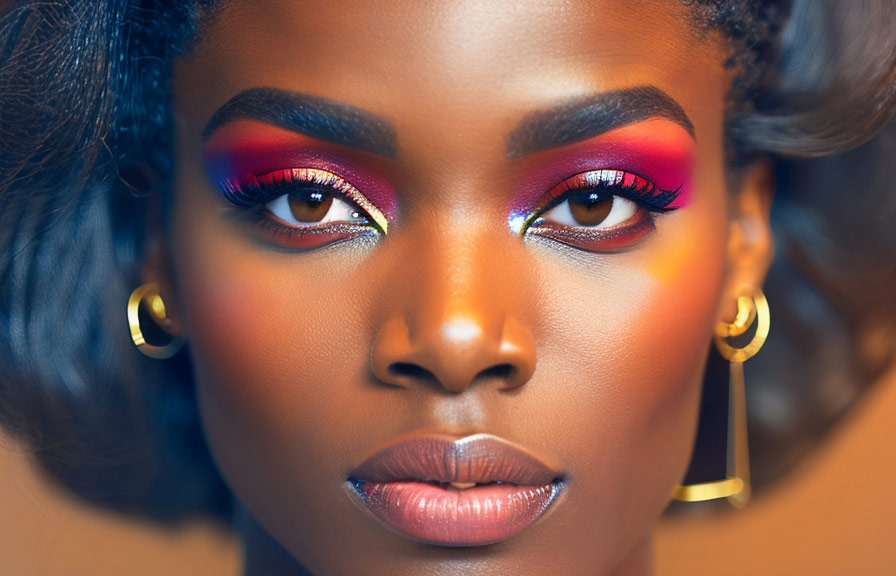
- Brow Bone: Applying highlighter along the brow bone adds lift and definition to the eyes.
- Cupid’s Bow: A touch of highlighter on the cupid’s bow makes the lips appear fuller and more defined.
- Inner Corner of Eyes: Applying highlighter to the inner corner of the eyes brightens and opens up the eyes.
- Cheekbones: Highlighter applied along the cheekbones creates a sculpted, lifted effect.
- Bridge of Nose: A subtle line of highlighter down the bridge of the nose can make it appear straighter and more defined.
- Chin: Highlighting the chin adds dimension and definition to the jawline.
Application Techniques for a Flawless Finish
Achieving a natural, seamless highlight requires proper application techniques.
- Cream Highlighter: Use a sponge or your fingertips to blend cream highlighter into the skin. Start with a small amount and build up gradually.
- Liquid Highlighter: Apply liquid highlighter with a brush or your fingertips, blending it seamlessly into the skin.
- Powder Highlighter: Use a fluffy brush to apply powder highlighter to the desired areas. Start with a light dusting and build up as needed.
Blending for a Seamless Finish
Blending is crucial for a natural, flawless highlight. Use a soft, fluffy brush to blend the highlighter into the surrounding skin. Focus on creating a seamless transition between the highlight and the rest of your makeup.
Setting Your Highlight
To ensure your highlight stays put throughout the day, set it with a translucent powder. Apply a light dusting of powder over the highlighted areas using a fluffy brush.
Tips for Achieving a Natural Glow
- Less is More: Start with a small amount of highlighter and build up gradually. Too much highlighter can make your skin appear shiny or unnatural.
- Choose a Formula That Suits Your Skin Type: If you have oily skin, opt for a powder highlighter. If you have dry skin, a cream or liquid highlighter might be a better choice.
- Consider the Occasion: For a natural, everyday look, opt for a subtle highlight. For a more dramatic look, use a more intense highlighter.
- Practice Makes Perfect: Experiment with different application techniques and products to find what works best for you.
FAQs on Highlighter
Q: Can I use highlighter as eyeshadow?
A: Yes, many highlighters can be used as eyeshadow. Look for a highlighter with a fine, shimmery texture that blends easily.
Q: Can I use highlighter on my lips?
A: Yes, you can use a highlighter on your lips to create a subtle, dewy effect. Apply a small amount to the center of your lips.
Q: How can I make my highlighter last longer?
A: Set your highlighter with a translucent powder to help it stay in place.
Q: Can I use highlighter on my body?
A: Yes, you can use highlighter on your body to create a radiant glow. Apply it to your shoulders, collarbone, and legs.
Q: What is the difference between highlighter and shimmer?
A: Highlighter is designed to reflect light and create a subtle glow, while shimmer is a more intense, glitter-like effect.
Conclusion
Mastering the art of highlighting is a skill that can elevate any makeup look. By understanding its nuances and utilizing it effectively, you can create a radiant, sculpted, and defined look that enhances your natural beauty. Experiment with different products and techniques to find what works best for you and embrace the transformative power of highlighter.


Closure
Thus, we hope this article has provided valuable insights into Mastering the Art of Highlighting: A Comprehensive Guide to Illuminating Beauty. We thank you for taking the time to read this article. See you in our next article!